How to stage a vacant listing in minutes
You have a vacant listing, the photos are back, and the rooms look empty. Here is a practical way to get staged versions done the same day, without booking a stager or moving furniture.
1. Pick the photos that matter
Don’t stage everything. Open the photo set in the order it will appear on the listing and choose the 4 to 8 frames that do the most work: the main living area, the kitchen if it has room for stools or a table, the primary bedroom, the dining area, and any room whose purpose isn’t obvious. Hallways, bathrooms and closets rarely need it.
2. Make sure the photos are stageable
Staging works best on wide, level shots with even light and a clear floor. If the photographer shot the room from a corner at chest height, you are in good shape. Very tight crops, heavy distortion or dark rooms give the software less to work with. If the home is occupied rather than vacant, a declutter pass first can clear the room before staging.
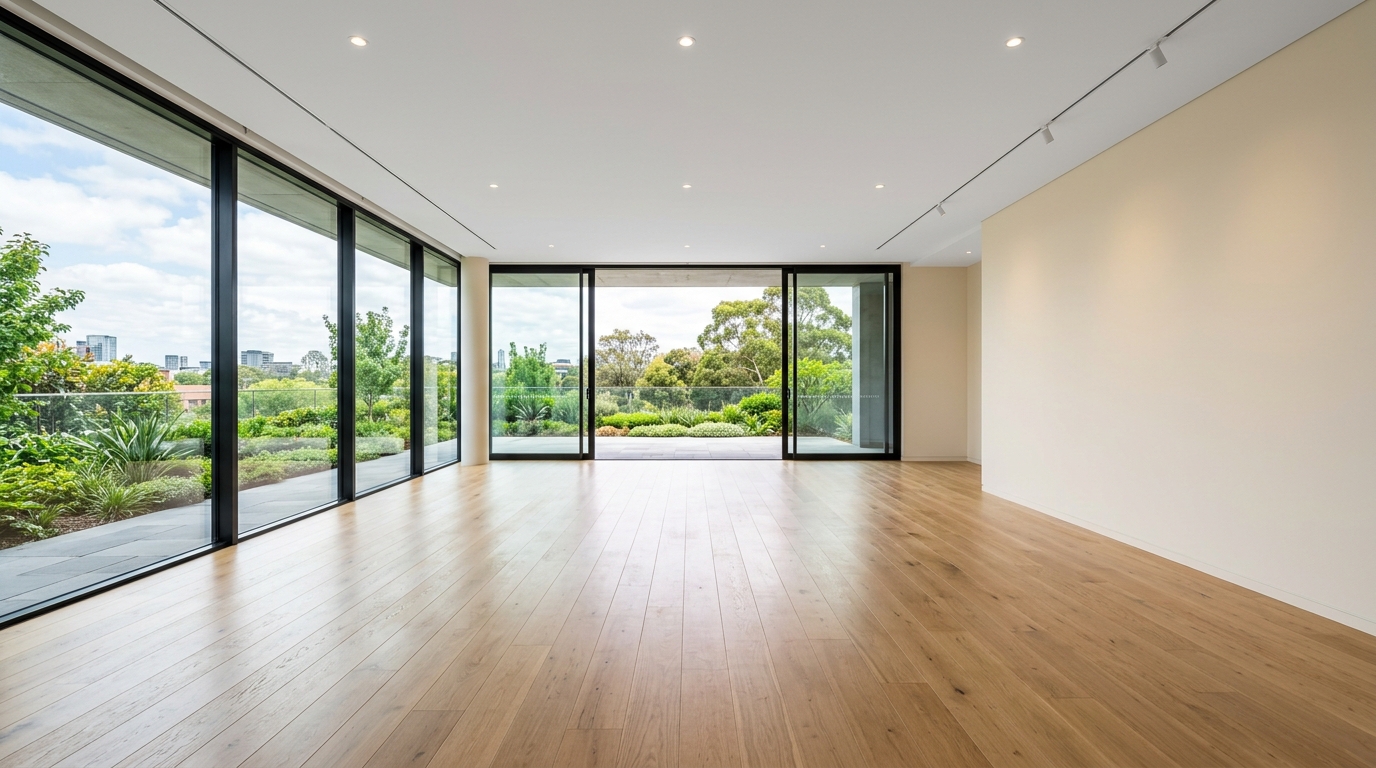
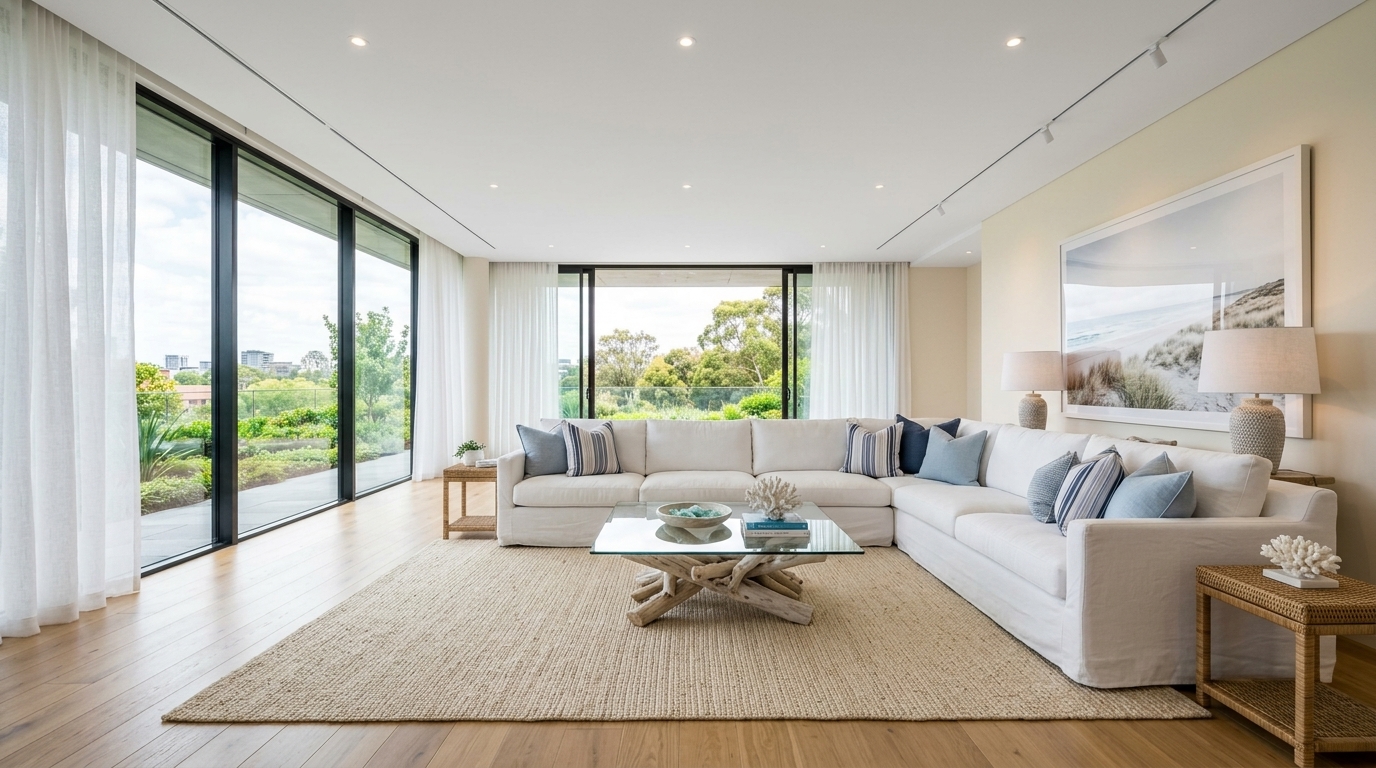
Studio examples, not a client listing.
3. Stage the photos
- Open the RoomGenix studio and create an account. New accounts get 3 watermarked previews without a card, so start with your hardest photo.
- Upload a photo, choose the room type (living room, bedroom, dining and so on) and a style.
- A staged version is usually ready in a minute or two. If you don’t like it, run it again or try a different style.
Keep the styles consistent across the listing. A coastal living room next to an industrial bedroom looks odd. Pick the style that suits the home and the likely buyer, and use it throughout.
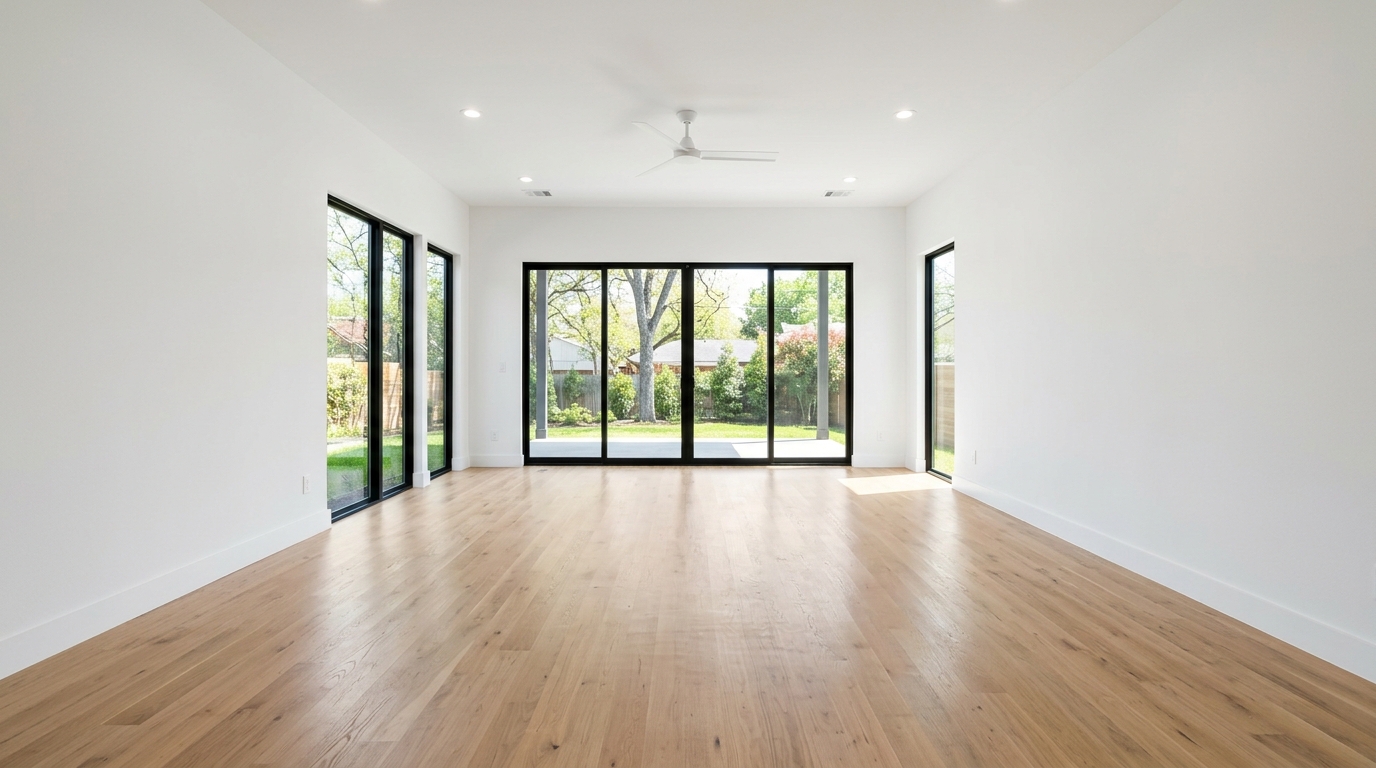
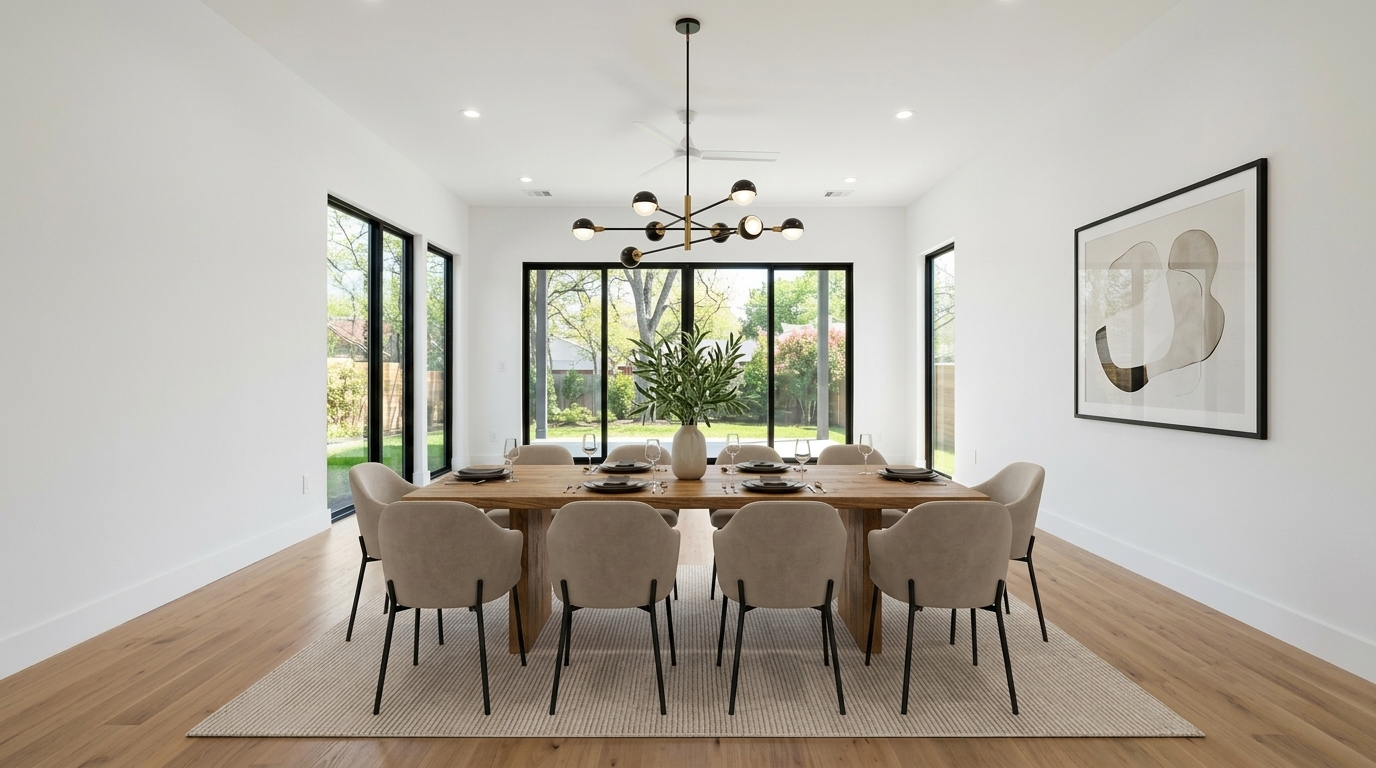
Studio examples, not a client listing.
4. Check every result
Before anything goes on the MLS, compare each staged photo with the original. Windows, doors, floors and walls should be unchanged. Furniture should be a believable size for the room. If something is off, rerun it rather than publishing it. See AI staging that keeps the original room layout for a checklist.
5. Label and publish
Follow your MLS rules. Many require a “virtually staged” label on or near the image and the unstaged original in the listing too. RoomGenix doesn’t stamp a label on the file, so add it where your MLS asks. Our disclosure guide covers the basics.
How long does it really take?
Picking photos takes a few minutes. Each photo usually takes a minute or two to stage, plus a moment to check it. For a typical 6-photo set, most of the job is done in well under half an hour, compared with days to schedule physical staging.
What it costs
After the 3 free previews, the Listing pass is $19 for 8 photos, which covers most listings. Busy agents and photographers can buy 25 for $49 or 60 for $99. There is no subscription. Compare that with physical staging in virtual vs physical staging cost.
Questions
How many photos should I stage for a vacant listing?
Usually 4 to 8: the main living area, primary bedroom, dining area and any room that is hard to read when empty.
How long does virtual staging take?
About a minute or two per photo with RoomGenix, so a typical listing can be done in under half an hour.
Do I need a professional photo?
A wide, level, well-lit photo gives the best result. Most professional listing photos work well.
Do I have to label staged photos?
Many MLSs and some states require it. Check your local rules.